Tuesday, September 27, 2011
DAYLILIES IN BLUE AND WHITE VASE (Copyrighted)
JONI FASHIONS since 1976 (Copyrighted)

Monday, September 19, 2011
FABRIC STORY PICTURES

Sunday, September 18, 2011
AVON GRANDMA MOSES EMBROIDERED PICTURE

Saturday, September 17, 2011
LITTLE MARY JANE (Copyrighted)

TILE STEPS (Copyrighted)

Thursday, September 15, 2011
ENTRANCE TO MY FOLK ART STUDIO

Wednesday, September 14, 2011
RAGGEDY ANN & ANDY PAINTINGS (Copyrighted)


THE TEDDY BEAR COLLECTION PAINTINGS (Copyrighted)


POT HOLDERS PAINTING (Copyrighted)


HOMEMADE GREETING CARDS

DECORATING WITH POT HOLDERS

Tuesday, September 13, 2011
POLKA DOT STARS

POLKA DOT STARS

Sunday, September 11, 2011
"FALL IS IN THE AIR" Mailbox sign

"CHOPPING WOOD WITH CHOPIN" (Copyrighted)

"WALKING ABBEY" (Copyrighted)

Saturday, September 10, 2011
NEEDLEPOINT PICTURE

Thursday, September 8, 2011
EMBROIDERED RED WORK PICTURES

Wednesday, September 7, 2011
"COSY CORNER PICTURE # 1 (Copyrighted)

COZY CORNER PAINTINGS (Copyrighted)

COZY CORNERS PAINTINGS (Copyrighted)

COZY CORNER PAINTINGS (Copyrighted)

Tuesday, September 6, 2011
FABRIC FLOWERS

Sunday, September 4, 2011
MAKING A FALL SIGN FOR THE MAILBOX

STARTING AN ART BOOK

Saturday, September 3, 2011
MY FAVORITE ART QUOTE BOOK

A PEEK INSIDE MY FAVORITE ART QUOTE BOOK

MY FAVORITE ART QUOTE BOOK

HANDMADE GIFT TAGS

STAR PILLOW GIFT FOR HOPE.

VICTORIAN STAR PILLOWS
I love the Victorian style as well as the Rustic & bright colors Folk Art Style! This litttle collection of "Star Pillows" started with a leftover piece of Ecru Tapestry. I drew a star shape on paper then enlarged it 4 times (for the 4 different size stars) To enlarge it I just drew the lines further out from the original then made my patterns on cardboard before I cut out the material stars.Don't forget to allow for seam. Then stitch around sides leaving opening to stuff thru. And then the fun part! Embellish! Buttons, Lace, Ribbons, Old fabric flowers, Cord. Remember "More is Best" in Victorian Style!
 . TIP: I recycle cereal boxes by cutting top & bottoms off & one cut up the side. Open it out to a good size piece of light weight cardboard! To add the finishing touch for a gift I attach a handmade gift tag. Will do a post on that later. Have Fun!

Friday, September 2, 2011
WELCOME TO MY "MAMMA MIA ROOM"

ENJOYING "MAMMA MIA ROOM"

NEW PILLOW FOR THE "MAMMA MIA ROOM"

Thursday, September 1, 2011
FALL FABRIC PICTURE

FALL DISPLAY
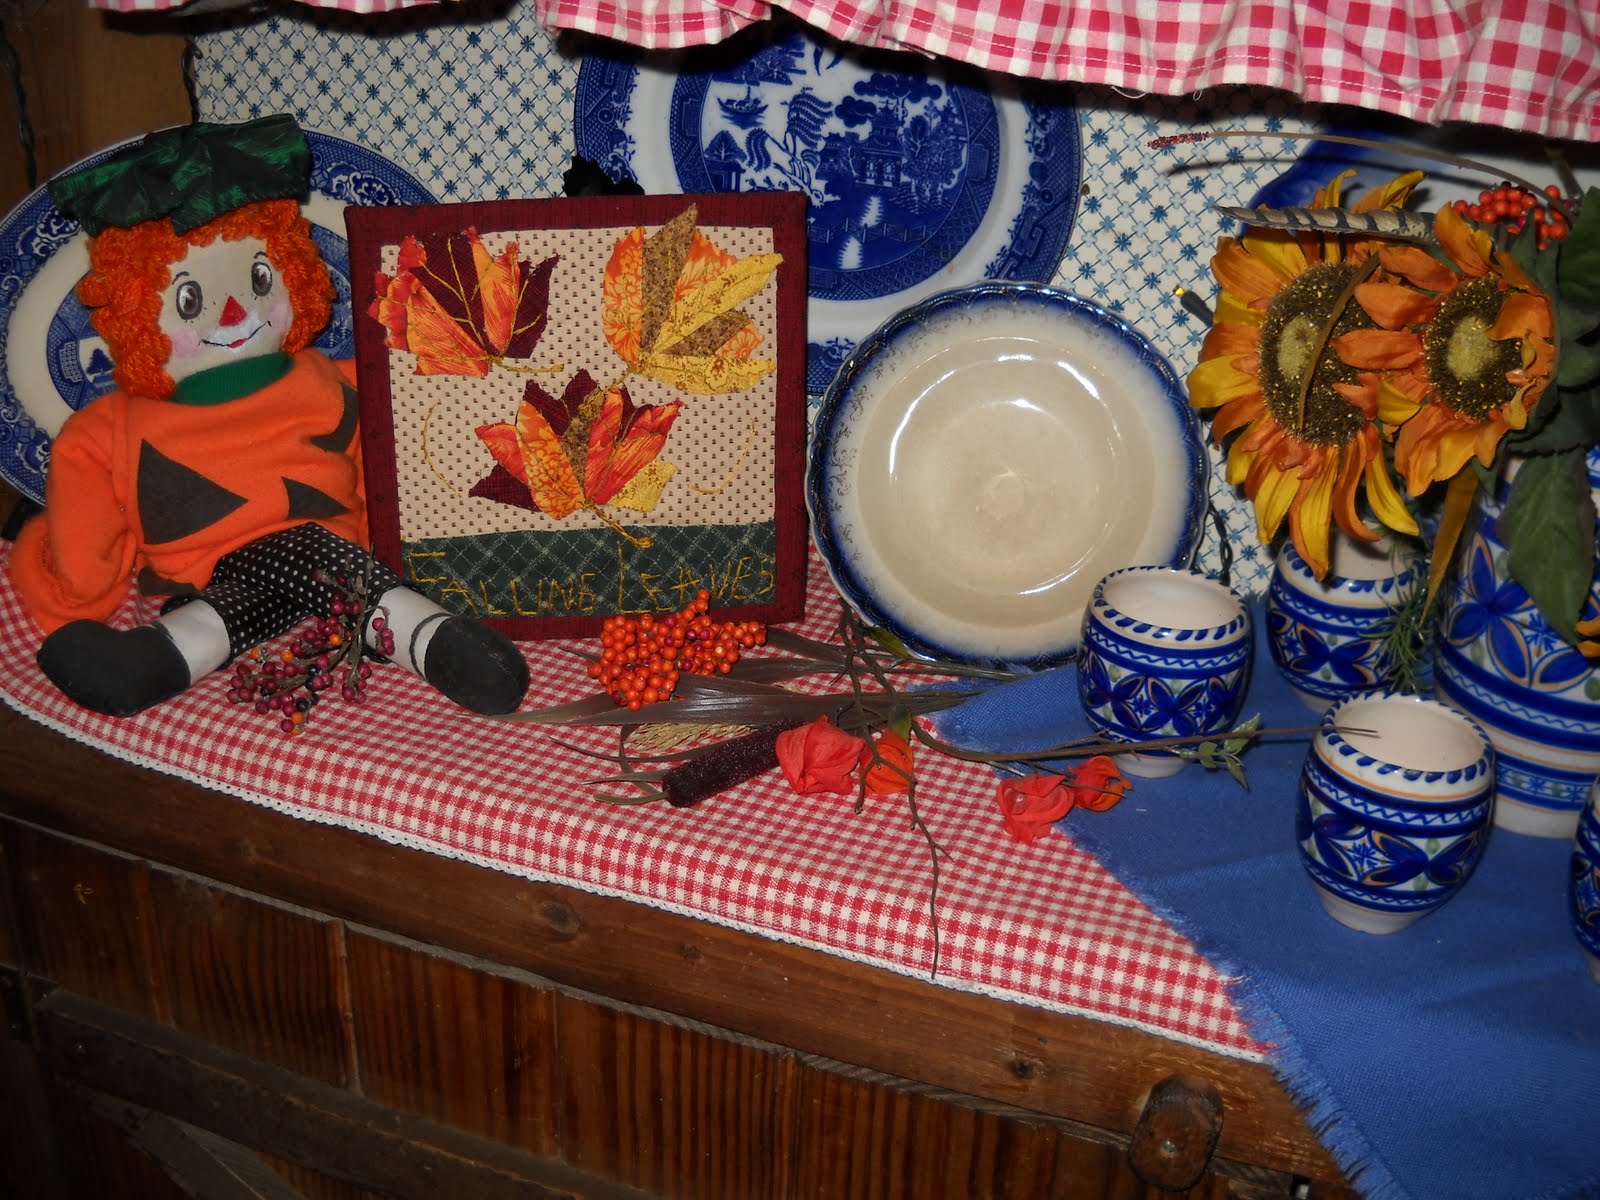

THINKING FALL!
I cut out the SUNFLOWERS out of 1x6" boards, drilled hole for small dowel, sticks, painted with acrylic paint, sprayed with clear protective spray and stuck in flower pots along with blue bottles on dowel sticks or tree branches. I use SUNFLOWERS in flower boxes, containers ( like a bouquet) and anywhere else I want some fall color!
Subscribe to:
Posts (Atom)